Use this guide to set up a new reader in Device Manager, assign it to the correct location, group, and asset, and confirm that it is working properly.
TABLE OF CONTENTS
- Before you begin
- Open the installer setup page
- Start the setup process
- Connect the reader to power
- Assign the reader
- Confirm setup
- Test the reader
- Setup complete
1. Before you begin
Make sure you have:
- The reader you want to set up
- Access to power for the reader
- An approved ID card to test the reader with
- Access to your CI Solutions account, or the ability to create one during setup
2. Open the installer setup page
- Scan the QR code on the back of the reader or enter the following URL in your browser: cardintegrators.com/account/installer-login?serialNumber=EnterYourSerialNumberHere
- Note: Your serial number can be found on the label on the back of the reader
- You will be directed to the Installer Login page.
- Sign in with your CI Solutions credentials, or enter your phone number to continue as a guest user.
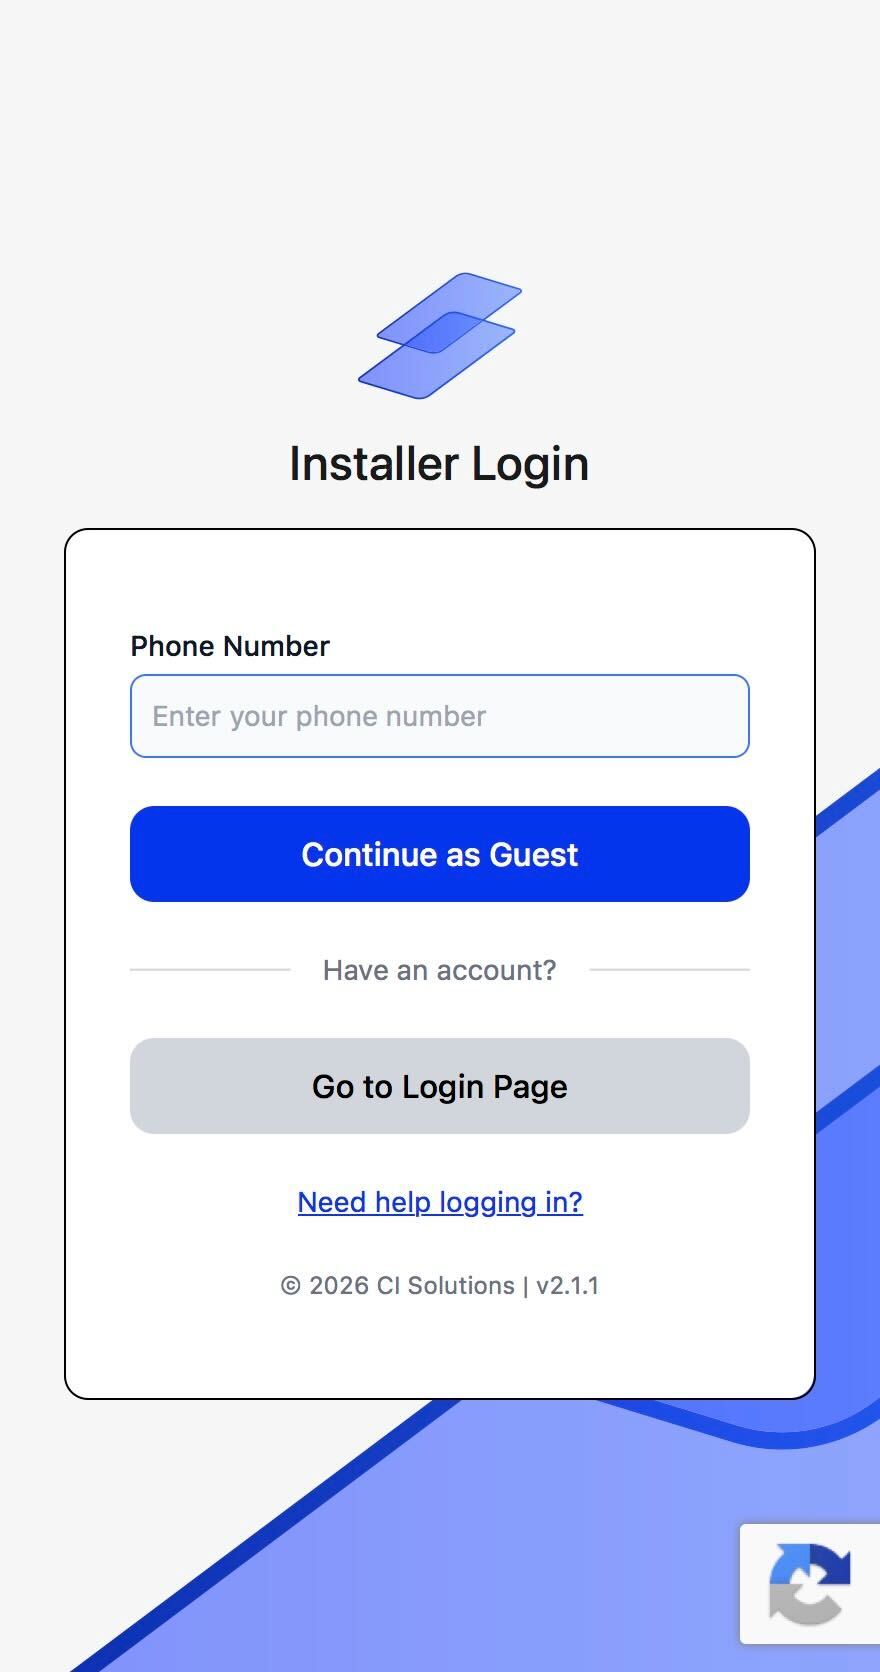
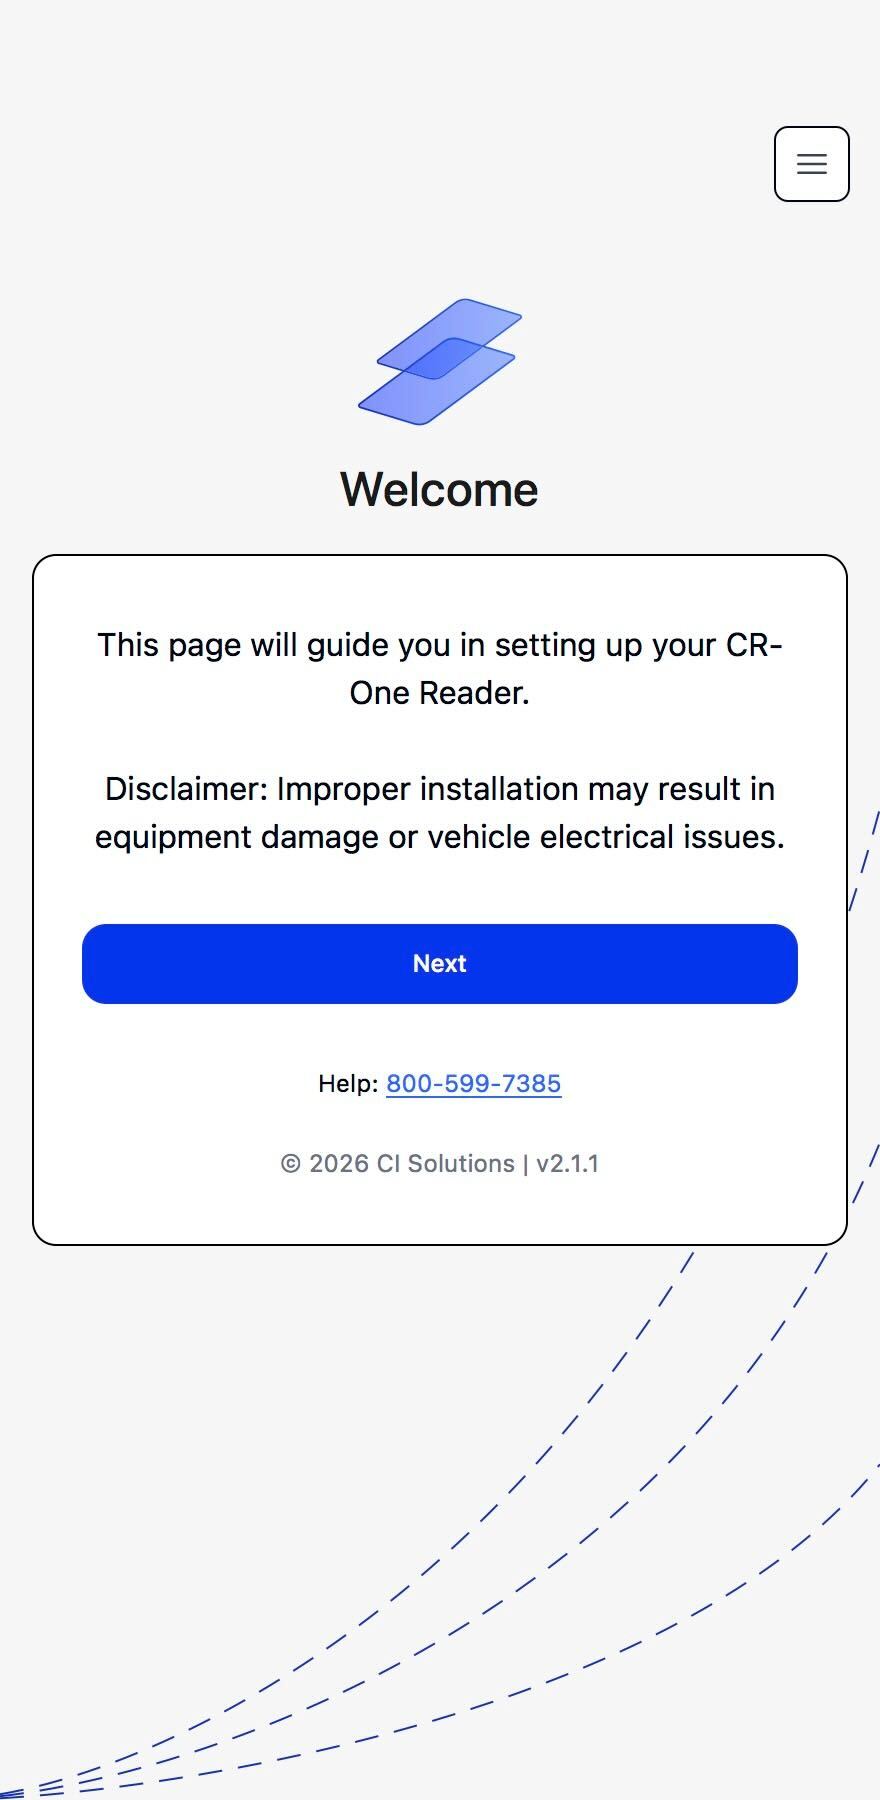
3. Start the setup process
- After signing in, you should see a Welcome page.
- Click Next to begin setup.
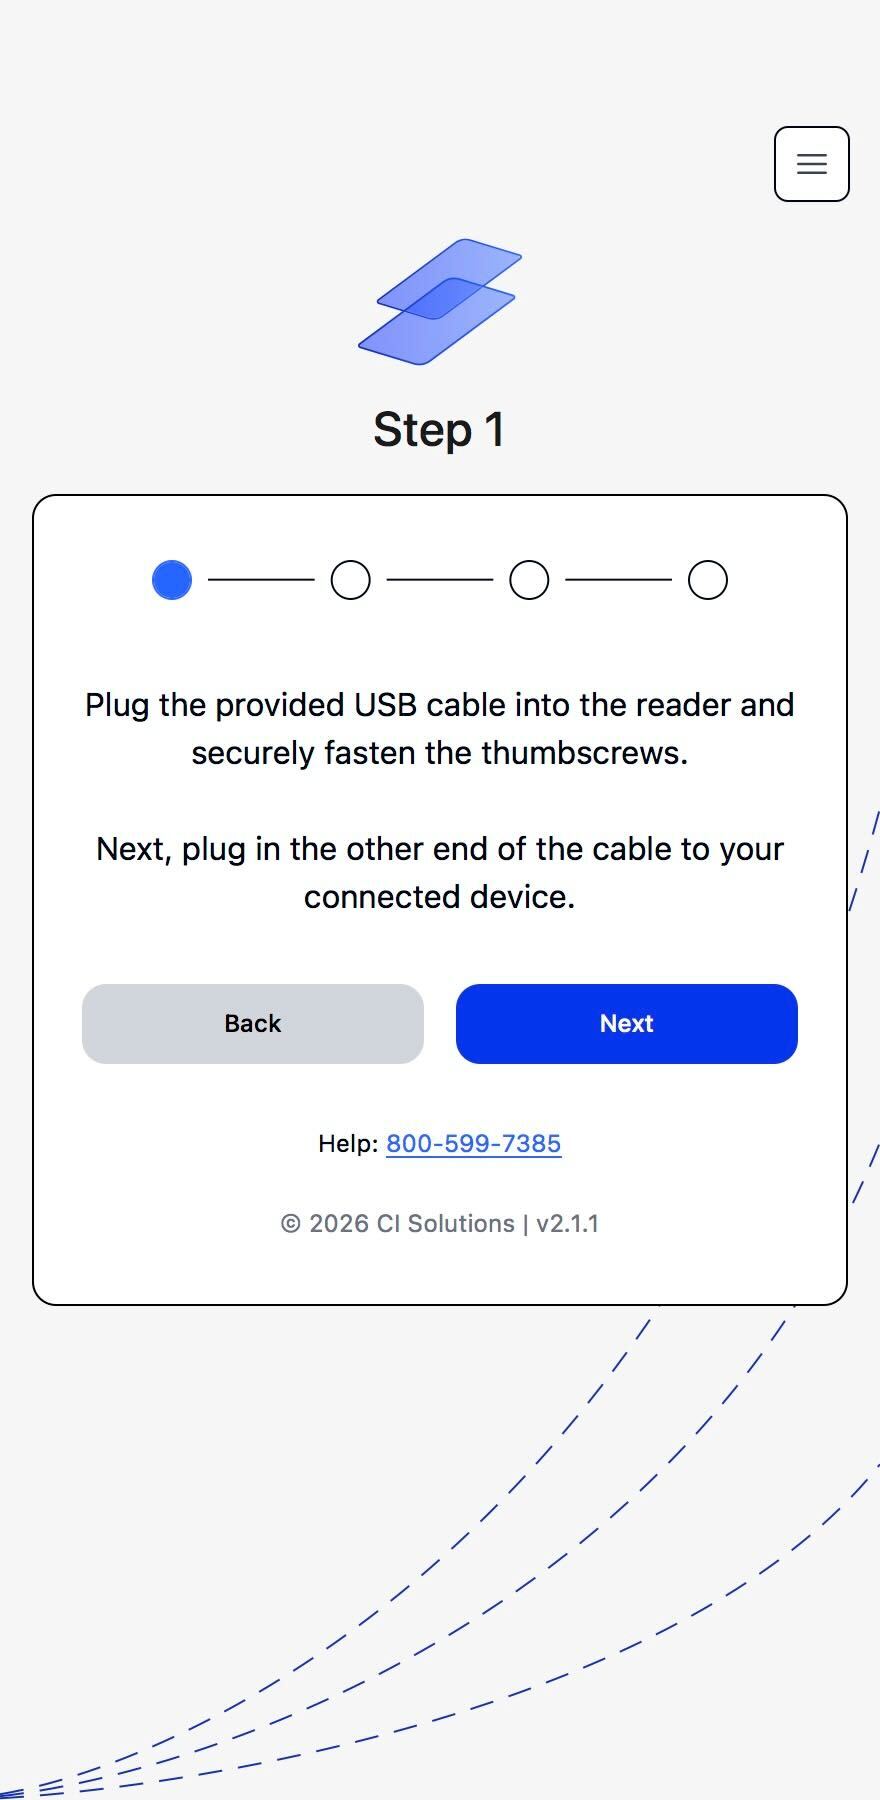
4. Connect the reader to power
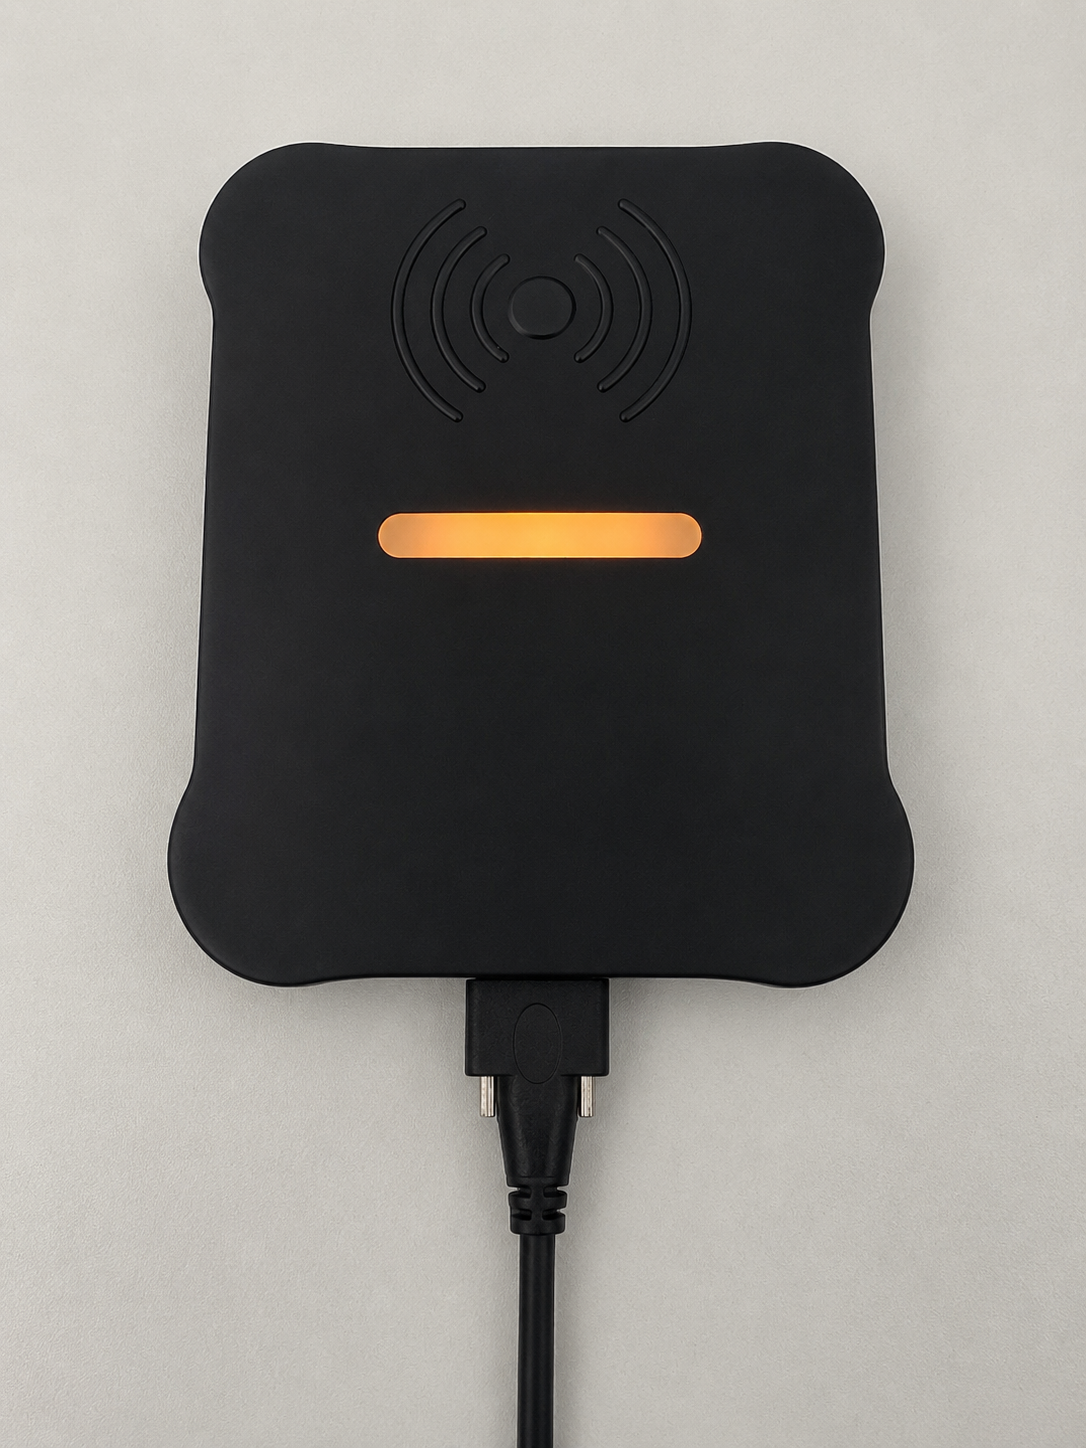
The next screen will prompt you to plug the reader into power.
Once plugged in, confirm that:
- The reader makes an audible beep sound.
- The reader’s light bar is orange.
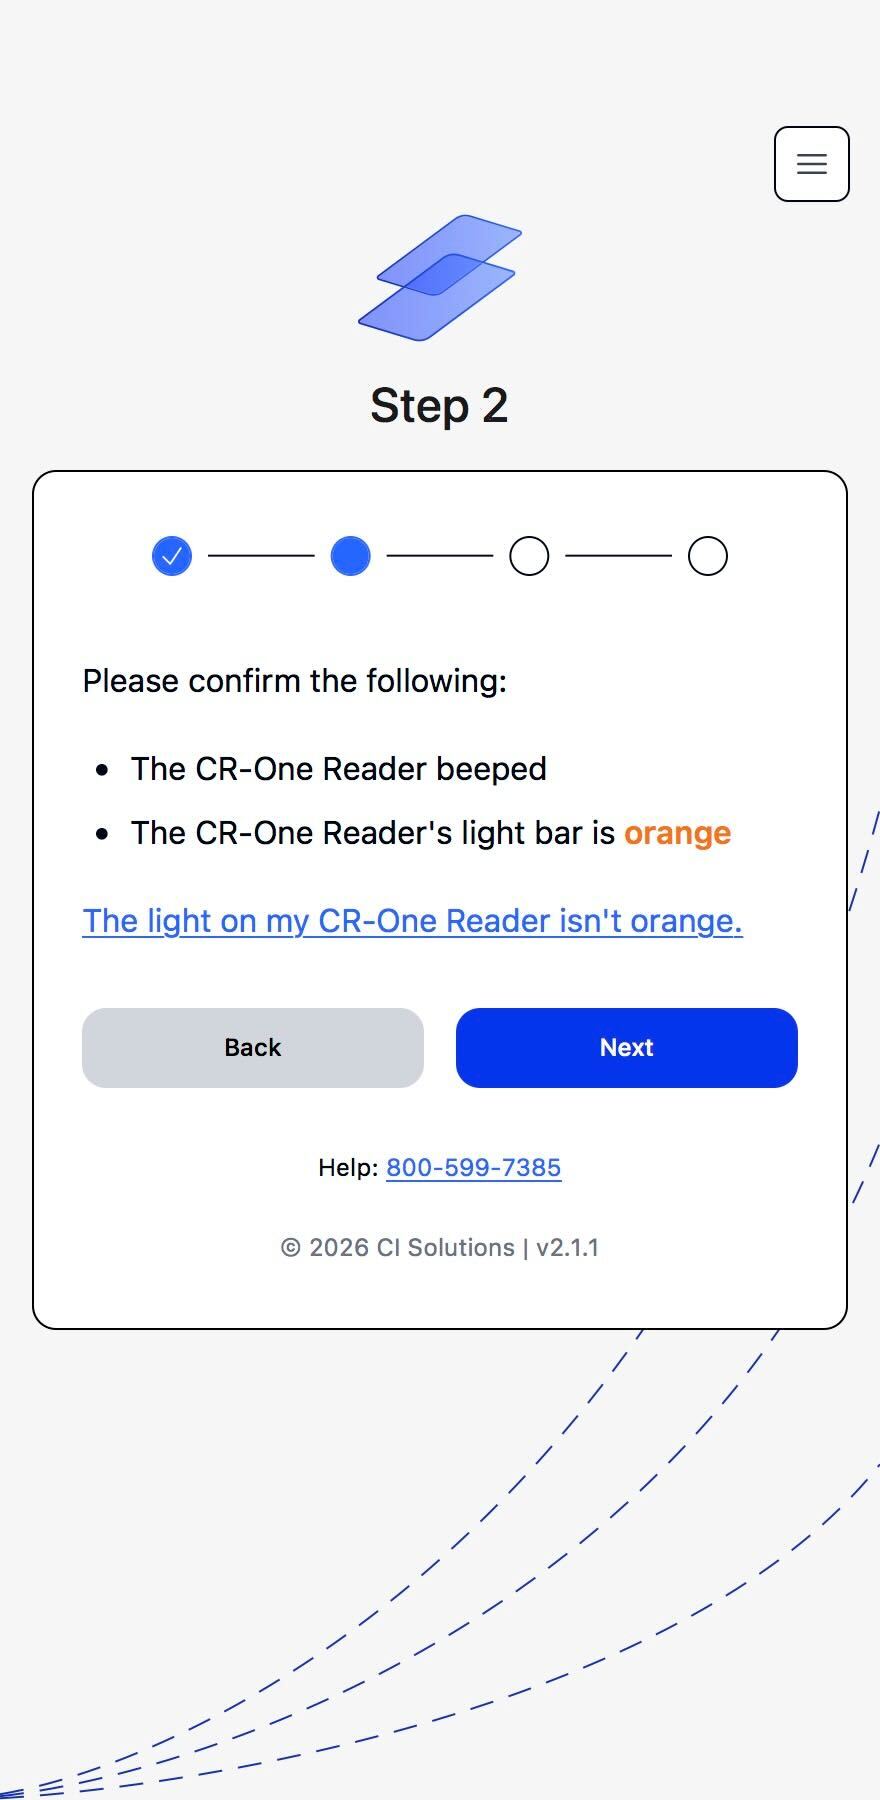
If the reader does not beep or the light bar does not turn orange, submit a support ticket.
5. Assign the reader
You will now assign the reader to a location, group, and asset.
These fields must be selected in order:
- Location (Required)
Select the campus where the reader will be used. - Group (Required)
Select the workflow or area the reader will be part of, such as Cafeteria, Attendance, Nurse’s Office, Campus Access, etc. - Asset
If available, select the specific placement or use point for the reader, such as Lunch Line #1, Side Gate, or Front Office Check-In.
Note: The Location must be selected first. The available Group and Asset options depend on the location you choose.
Specifying an asset is not required but highly recommended for optimal reader management and troubleshooting, especially as more readers are added.
If you do not see any expected location, group, or asset options, the reader may not be configured yet. Contact CI Solutions support for assistance before proceeding.
For more information on CR-One reader settings, read Understanding CR-One Reader Settings.
6. Confirm setup
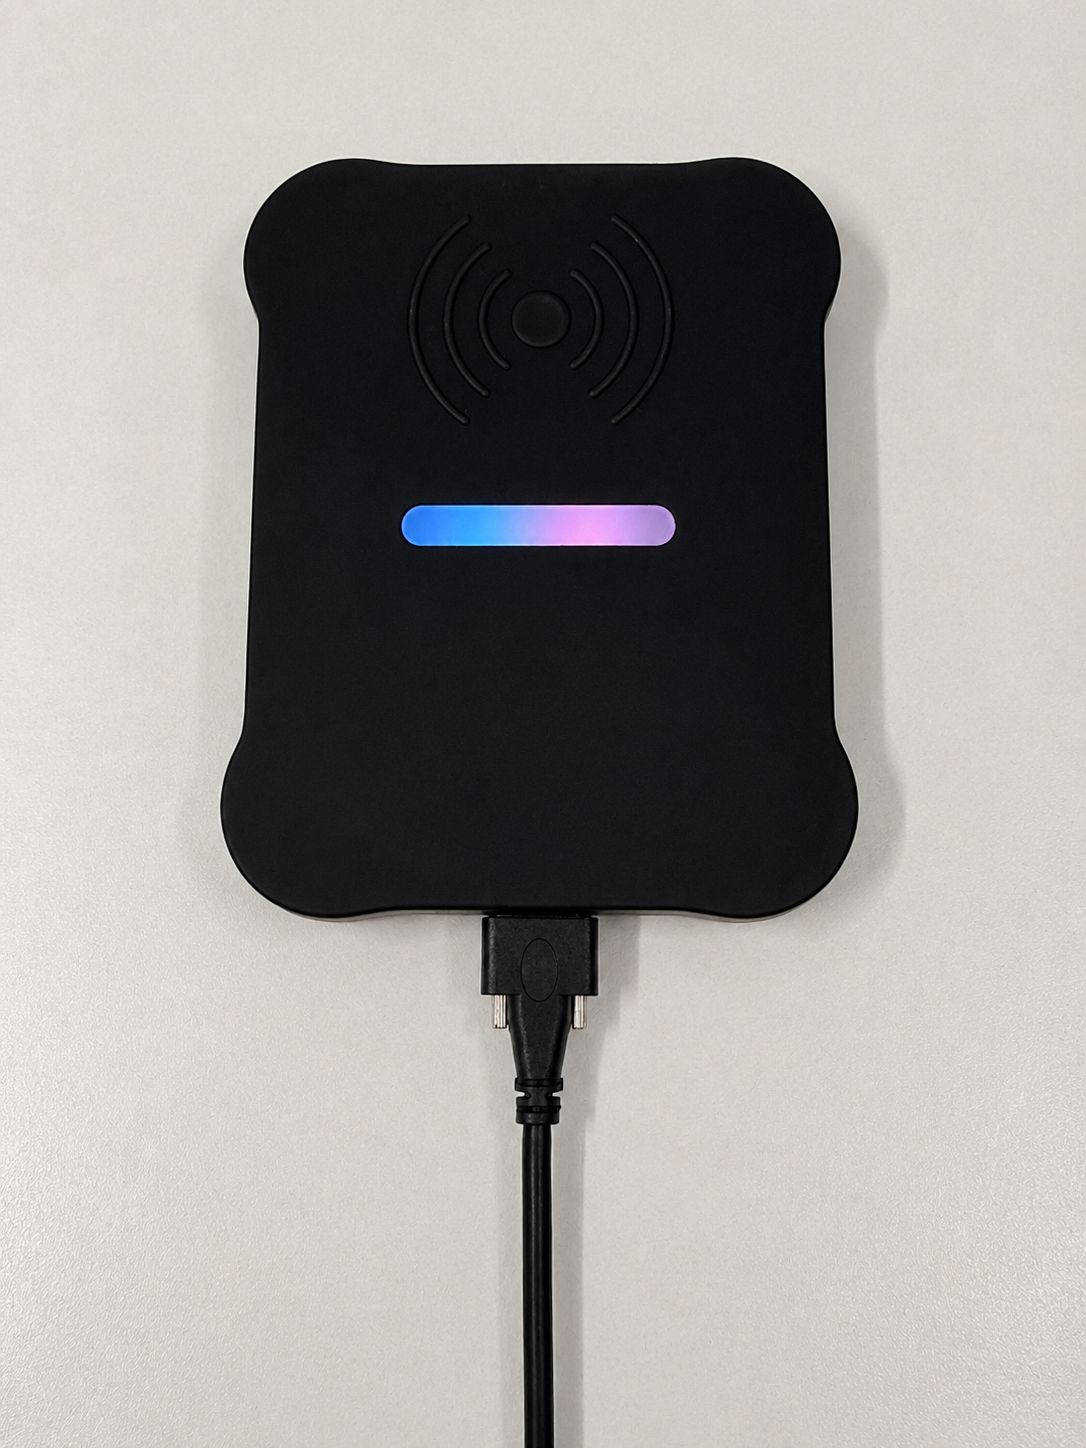
Once the reader has been assigned successfully, the light bar should display a rainbow pattern.
This indicates that the reader is set up and ready to accept taps.
7. Test the reader
- Take an ID card already available at your site.
- Tap the card on the emblem on the reader.
- Confirm that the card number appears in the Value Received box.
- Confirm that the card data also appears under Tap Events in Device Manager.
If the card number and data appear, the reader is working properly. If they do not, repeat the steps with another card. If the problem persists, contact your CI Solutions Administrator or submit a Support ticket.
8. Setup complete
Your reader is now set up and ready to use.
Was this article helpful?
That’s Great!
Thank you for your feedback
Sorry! We couldn't be helpful
Thank you for your feedback
Feedback sent
We appreciate your effort and will try to fix the article