In Secure Share, Badge Users can output records and images by syncing a SFTP connection between the client and server.- You must be a Badge Owner or have been given permission as a Badge Operator to access Secure Share and create a SFTP connection.
Output Records and Images
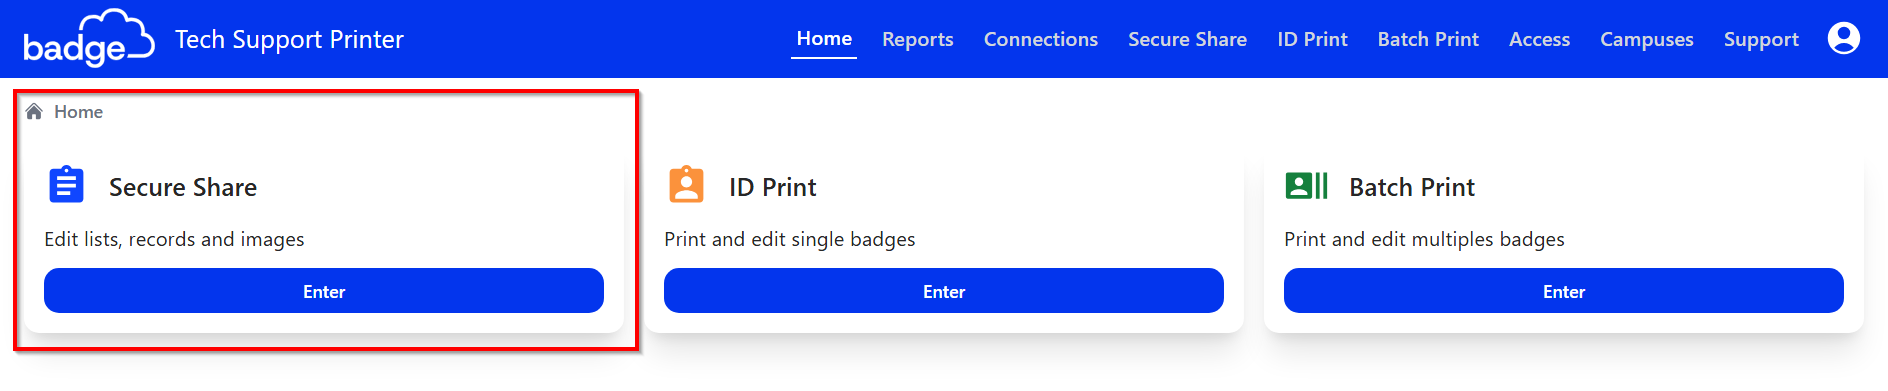
1. Click ENTER in the Secure Share module
2. Find the List Name (e.g., school, staff, district, office) you want to view > Click VIEW

3. At the top of the page, on the far right-hand side of List Name and Campuses > Click DATA

4. Select the choice of action (e.g., OUTPUT RECORDS, OUTPUT IMAGES)

5. Click To and select your connection (e.g., SFTP, RSFTP)

- If you do not see any connections in the drop-down menu, reach out to your Badge Project Manager. Your project manager will create a SFTP connection.
SFTP
1. Using the prefix /output/ add in the name of the CSV file in the SFTP Server in Records File Path
Example: /output/student_records
2. Select Output Changes (All Time, 7 Days or 30 Days)

Output Images

Output images are determined from an image's timestamp when they were inputted into Badge and will only output the match timeframe.

If an image is not in a zip folder, the time it was imported will be the timestamp.

Only images that meet the Output Change date criteria will output.
RSFTP
1. Enter the file name directory in the Records File Path
- File name and directory MUST match the file name and directory on the remote server.
- If you enable Include Timestamps in Output, the timestamps will only reflect the date the ID card's UID number was enrolled in Badge.
2. Select Output Changes (All Time, 7 Days or 30 Days)
Output Images

Output images are determined from an image's timestamp when they were inputted into Badge and will only output the match timeframe.

If an image is not in a zip folder, the time it was imported will be the timestamp.

Only images that meet the Output Change date criteria will output.
Was this article helpful?
That’s Great!
Thank you for your feedback
Sorry! We couldn't be helpful
Thank you for your feedback
Feedback sent
We appreciate your effort and will try to fix the article